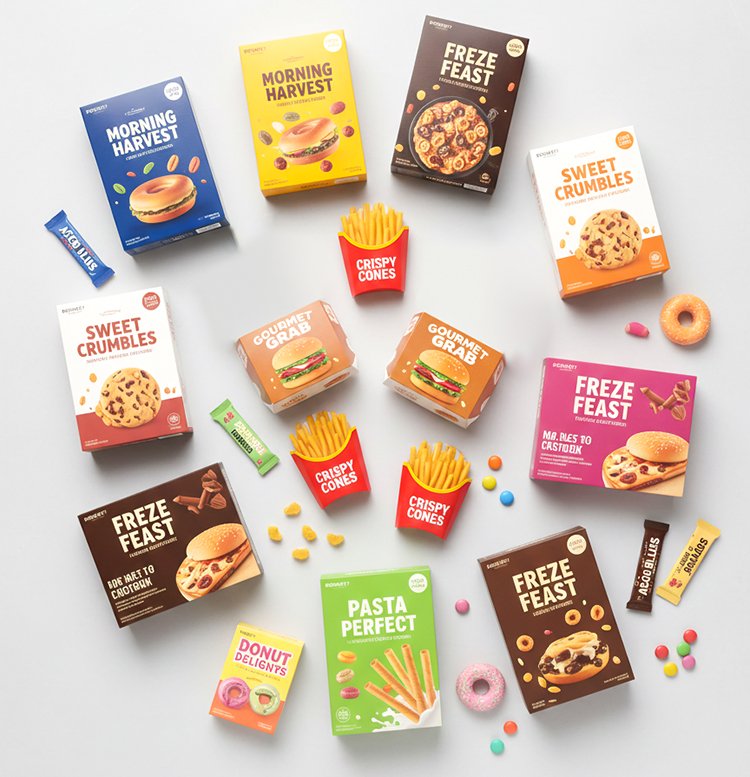
Launching a new food brand is exciting—but creating packaging that protects your product, showcases your brand, and attracts customers can be challenging. Your packaging is often the first thing consumers notice, and it has to perform several jobs: maintain freshness, comply with safety regulations, and stand out on crowded shelves.
For B2B brands, patisseries, snack producers, or startups, understanding how to create custom food packaging is key to building a strong market presence and boosting sales.
Step 1 – Define Your Brand & Product Needs
Before designing packaging, ask yourself:
- Who is your target audience? Kids, adults, health-conscious consumers, or luxury buyers?
- What type of food are you selling? Dry snacks, frozen meals, baked goods, or sauces?
- What are your product’s storage and transport requirements? Consider moisture, temperature, and stacking needs.
The answers guide your material selection, structure, and design. For instance, chocolate bars need grease-resistant, compact boxes, while frozen meals require thicker, moisture-proof cartons.
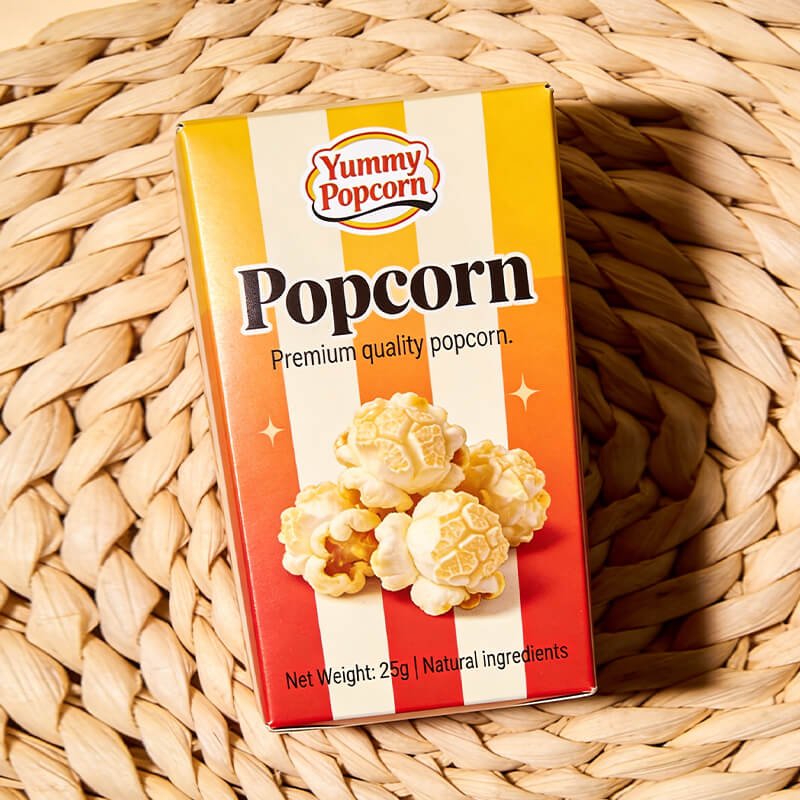
Step 2 – Choose the Right Materials
Materials affect safety, durability, and brand perception:
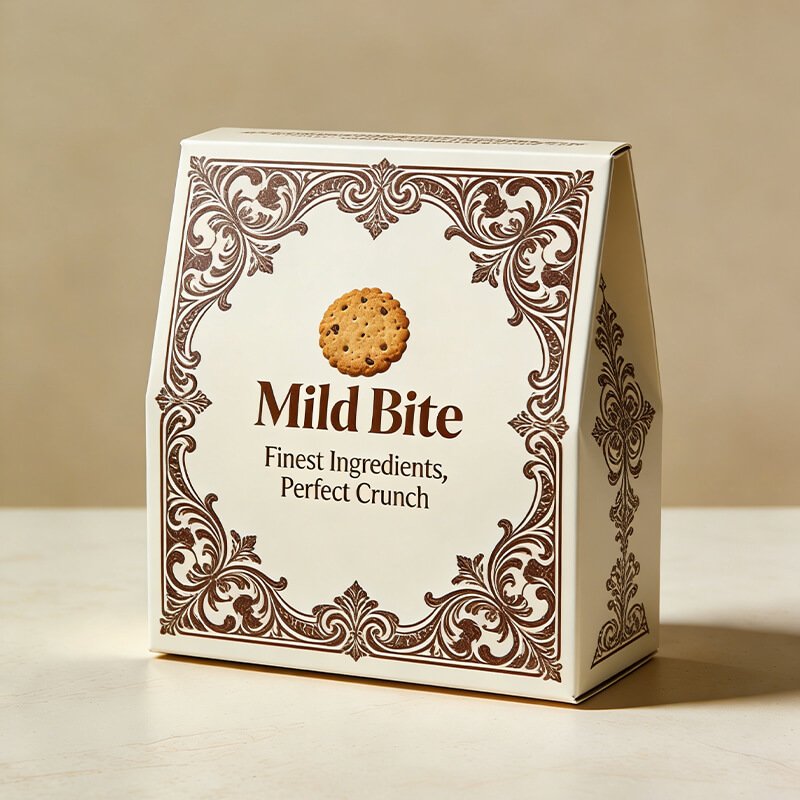
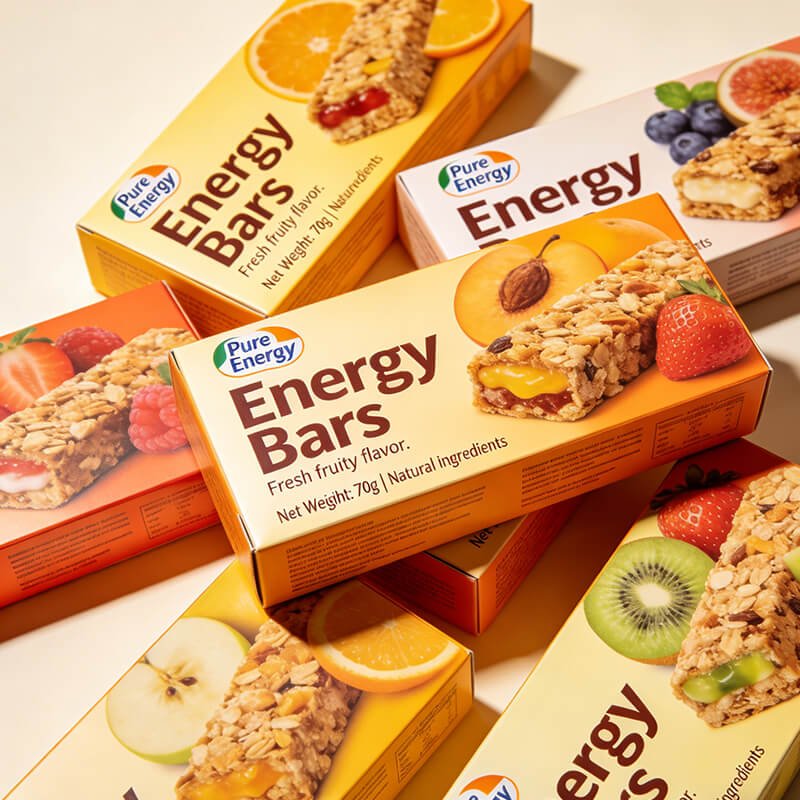
- Folding Cartons (SBS, FBB): Ideal for premium snack bars, cookies, and dry foods; smooth surface for high-quality graphics.
- Kraft Paperboard: Eco-friendly, sturdy, great for rustic or organic brands.
- Greaseproof or Wax-Lined Paper: Essential for bakery and chocolate products.
- Barrier Coatings (PE, PLA, Foil): Protect against moisture, grease, and oxygen.
Tip: Always ensure materials are FDA-approved or compliant with food contact regulations if the product is edible.
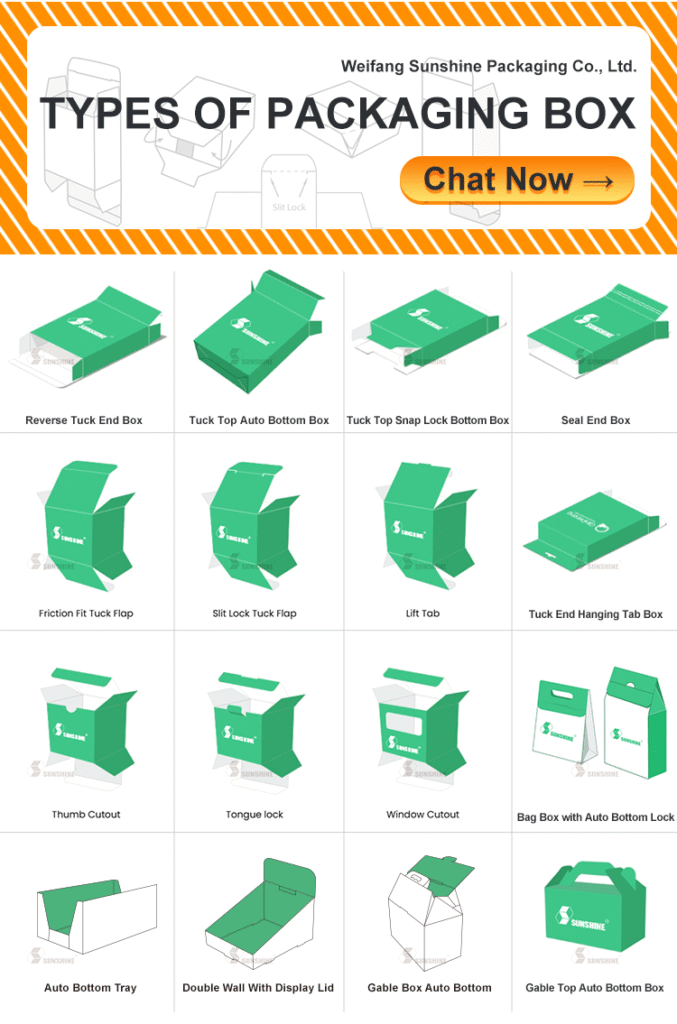
Step 3 – Decide on the Packaging Structure
The structure is as important as the material. Popular options include:
- Tuck Top Boxes: Simple, versatile, suitable for small snacks.
- Auto Bottom Boxes: Strong base for heavier items like layered cakes or meal kits.
- Gable Boxes: Carry handles make them perfect for gift sets or take-out.
- Window Boxes: Let customers see the product while keeping it protected.
- Trays with Inserts: Secure delicate items like cupcakes or chocolates.
Consider stacking, transport, and retail shelf presentation when choosing your structure.
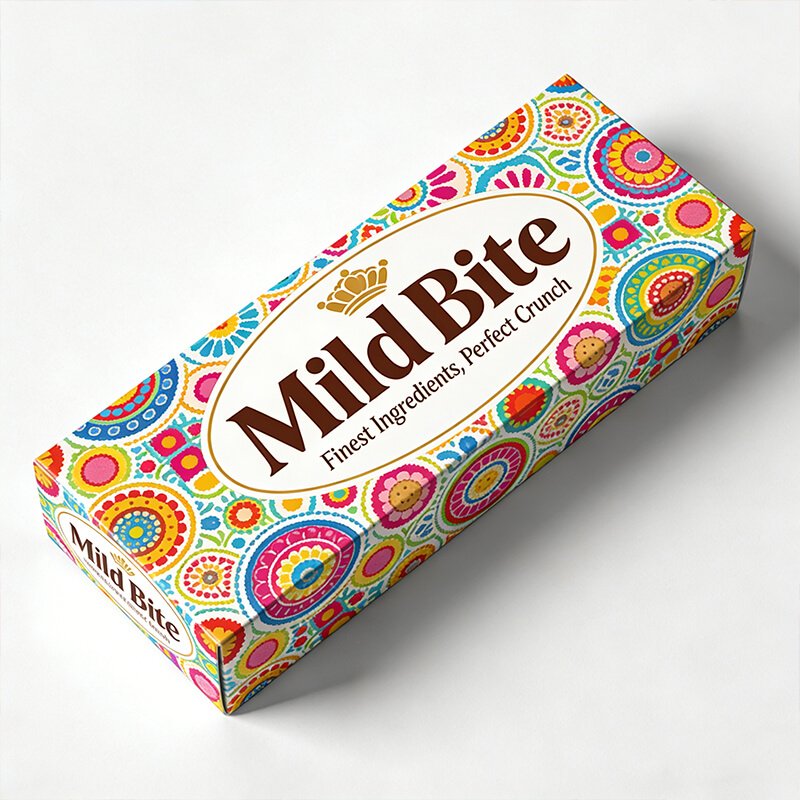
Step 4 – Design Eye-Catching Graphics
Your packaging must communicate your brand instantly:
- Use your brand colors, logo, and typography consistently.
- Consider full-color printing for snacks, baked goods, or gift items.
- Highlight key product features: “organic,” “gluten-free,” “ready-to-eat.”
- Think about coatings and finishes: matte, gloss, soft-touch, or spot UV can enhance perceived value.
A well-designed package stands out on shelves and encourages repeat purchases.
Step 5 – Ensure Functionality & Food Safety
Packaging isn’t just about looks—it must protect your product:
- Barrier Properties: PE, PLA, or foil linings prevent moisture, grease, or oxygen damage.
- Structural Integrity: Boxes must survive stacking, shipping, and handling.
- Food-Safe Inks & Coatings: Avoid chemicals that migrate into food.
- Portion Control: For snacks or meal kits, consider inserts or compartments.
Functional packaging reduces returns, protects your brand, and builds trust.
Step 6 – Sustainability Considerations
Modern consumers and retailers care about eco-friendly packaging:
- Recyclable Paperboards: FBB, SBS, and Kraft are widely accepted.
- Compostable Coatings: PLA replaces PE for biodegradable barrier protection.
- Minimalist Design: Reduce unnecessary packaging layers and plastics.
Sustainable packaging can be a key selling point, improving brand perception and retailer acceptance.
Step 7 – Prototype, Test, and Iterate
Before mass production:
- Produce sample boxes with your chosen material, structure, and graphics.
- Test in real conditions: shipping, stacking, refrigeration, or freezer storage.
- Gather feedback from your team or potential buyers.
- Adjust materials, finishes, or dimensions based on testing.
Prototyping ensures your packaging is both beautiful and functional, saving costs and preventing mistakes.
Step 8 – Partner With a Reliable Supplier
Working with a packaging manufacturer that understands food safety, B2B needs, and printing options makes the process much smoother. They can help with:
- Material selection
- Printing and finishing options
- Structural design and inserts
- Eco-friendly alternatives
A good supplier is like a co-pilot for your brand launch, guiding you from concept to finished product.

Creating custom food packaging for a new brand isn’t just about putting your logo on a box—it’s about protecting your product, telling your story, and winning customers.
Be honest: there’s a lot to consider—materials, coatings, structures, printing, sustainability—but if you take it step by step, prototype wisely, and work with experienced partners, your packaging can become one of your most powerful marketing tools.
At the end of the day, good packaging is practical, safe, and gorgeous enough to make people pick it up—and your brand stick in their minds. That’s the sweet spot every new food brand should aim for.